Stocking Filler Ideas
Everyone loves a stocking filler and for kids, they’re often the highlight of Christmas morning. This year, fill every stocking with thoughtful gifts that may be small in size and price but big in meaning. From classic favourites to fun festive surprises, discover affordable stocking fillers that make Christmas truly memorable.
What to put in a Christmas stocking?
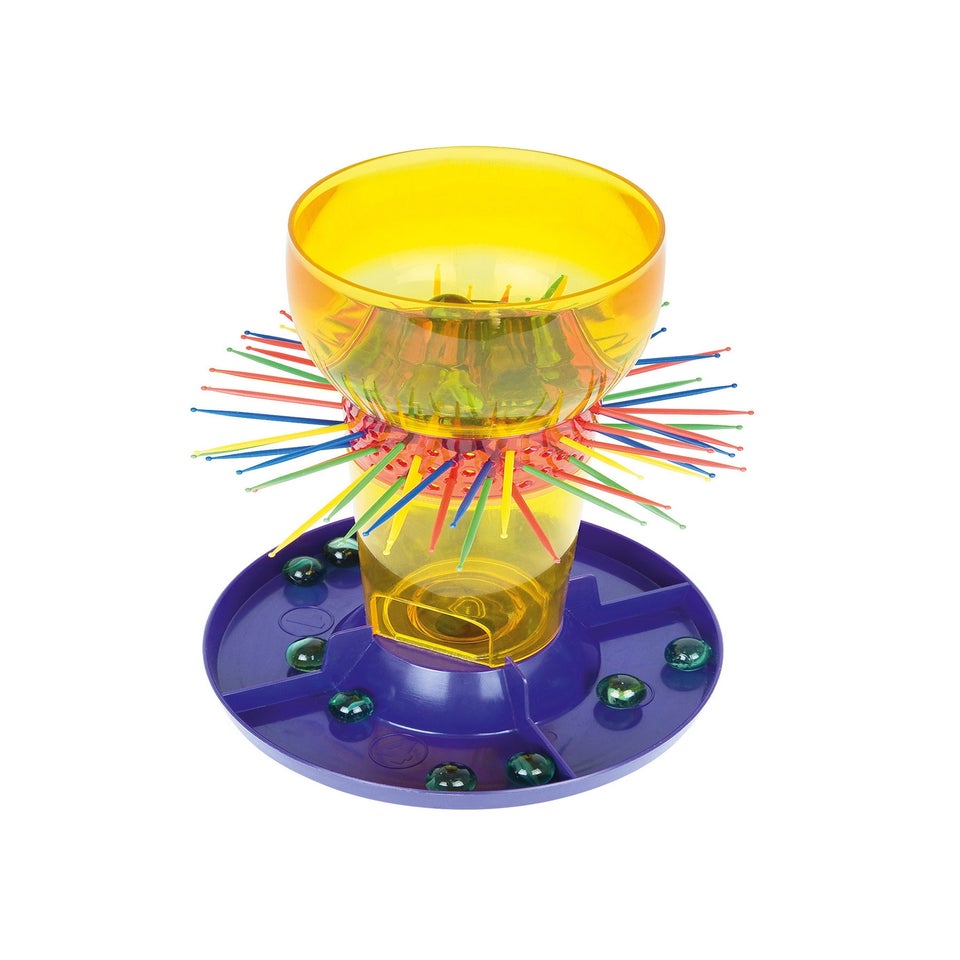
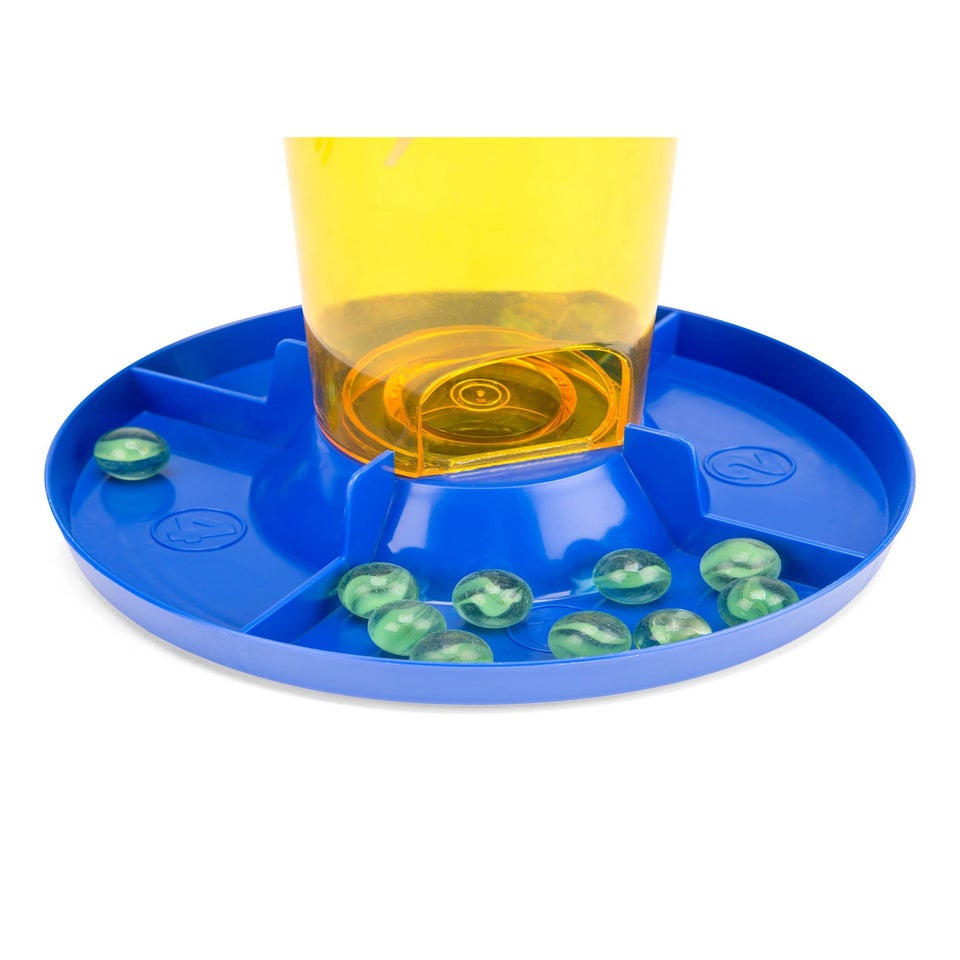
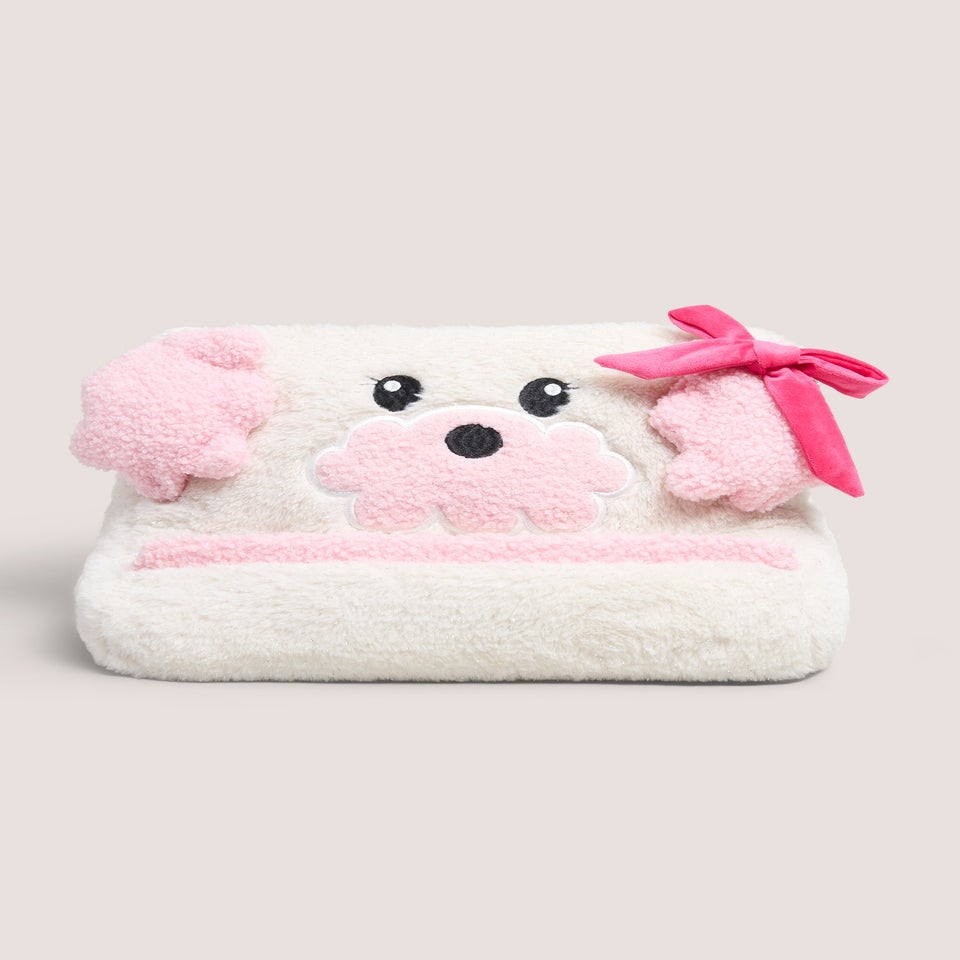
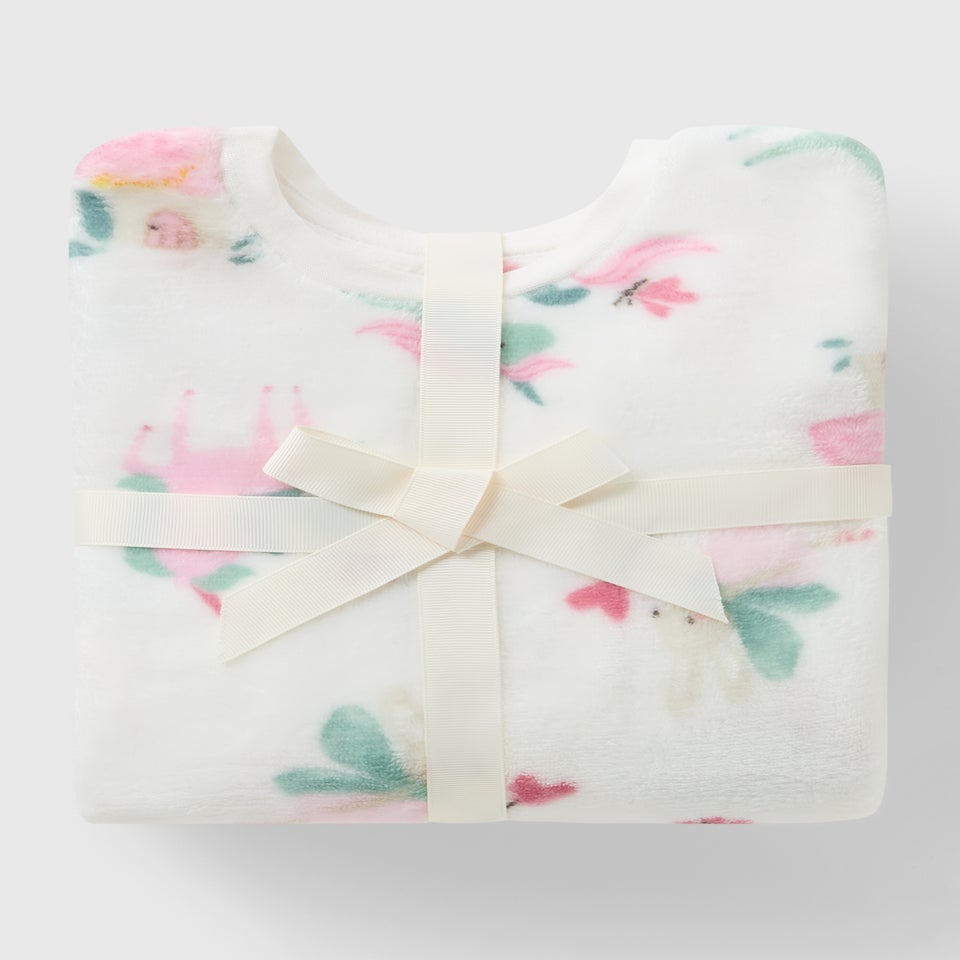
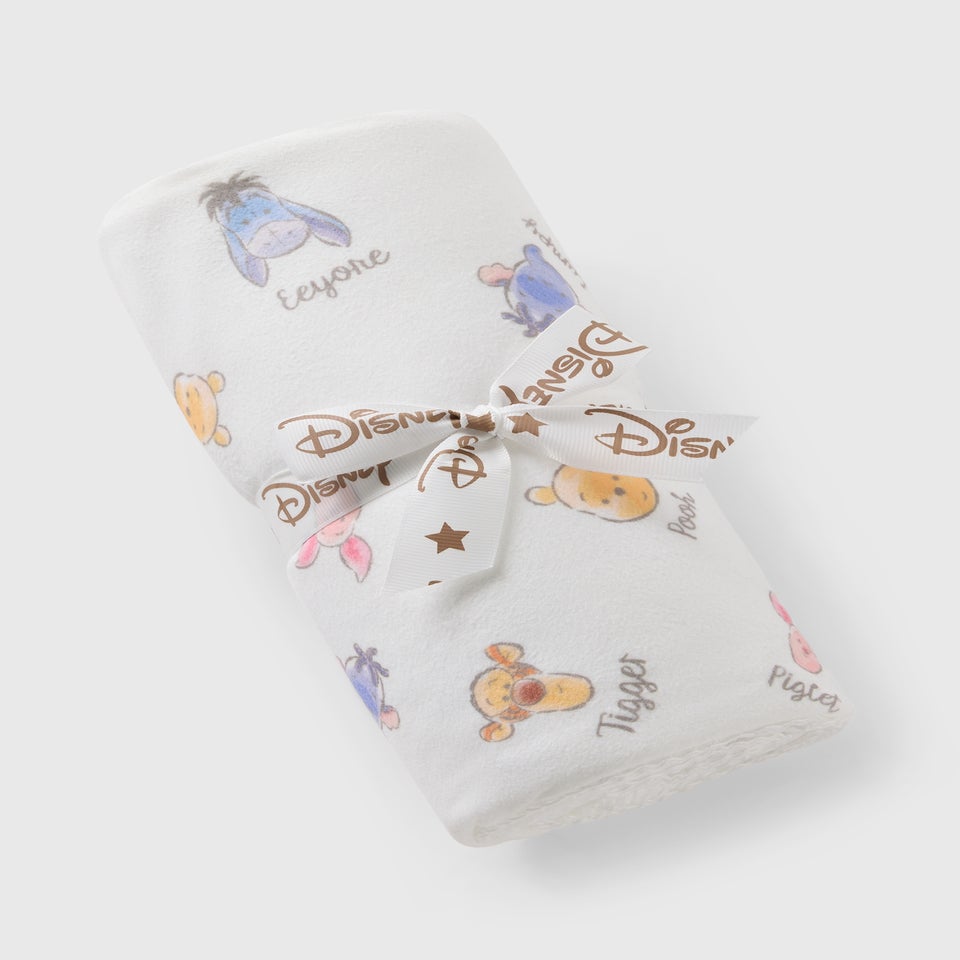
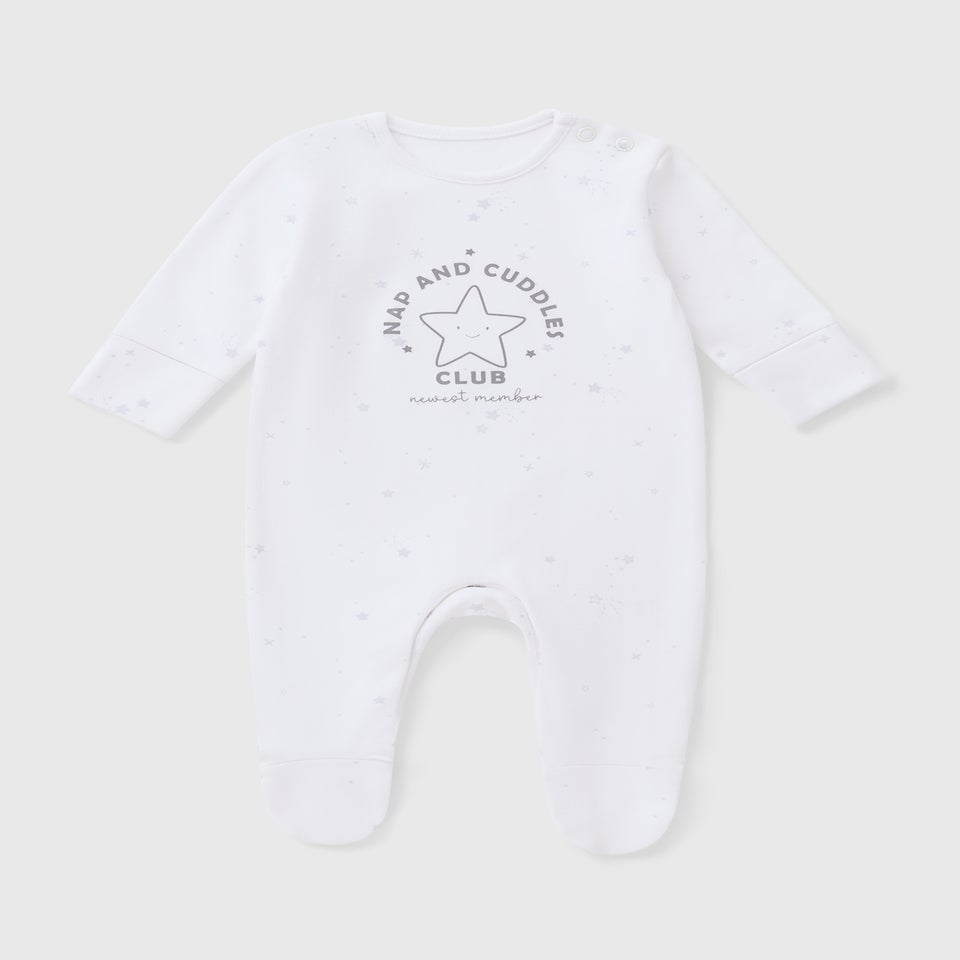
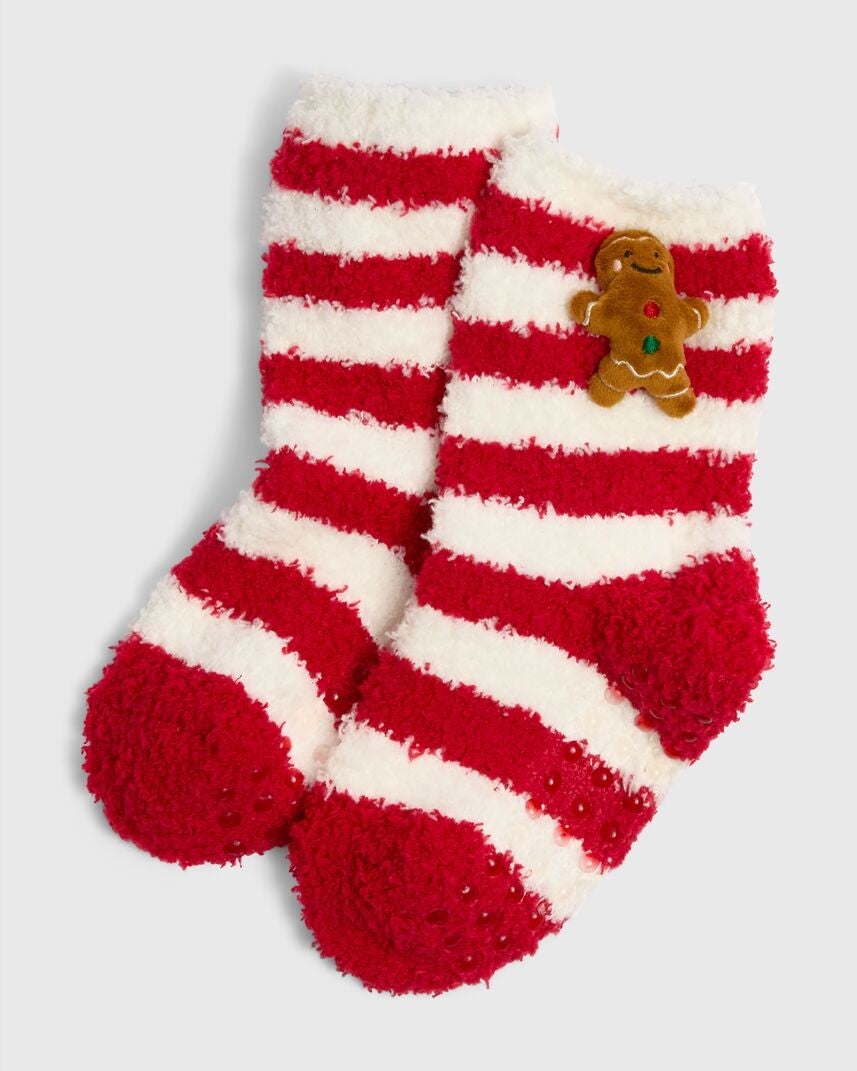
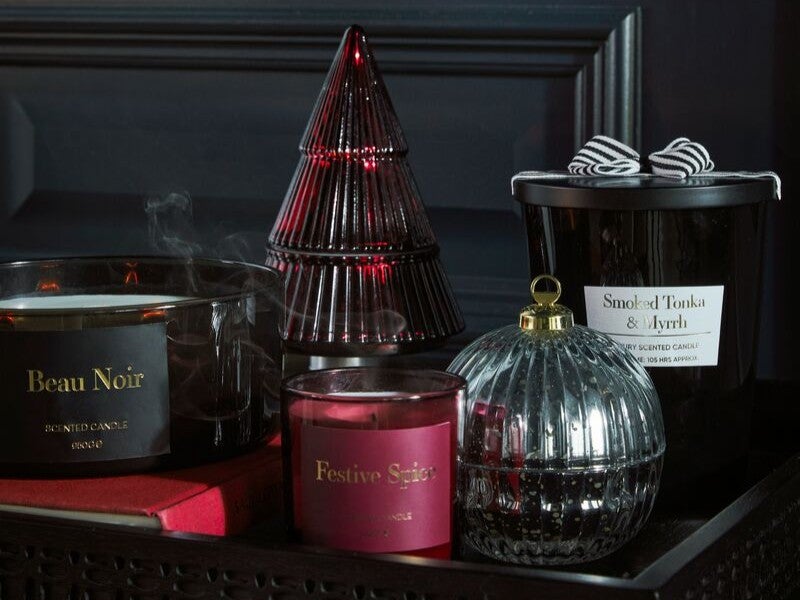
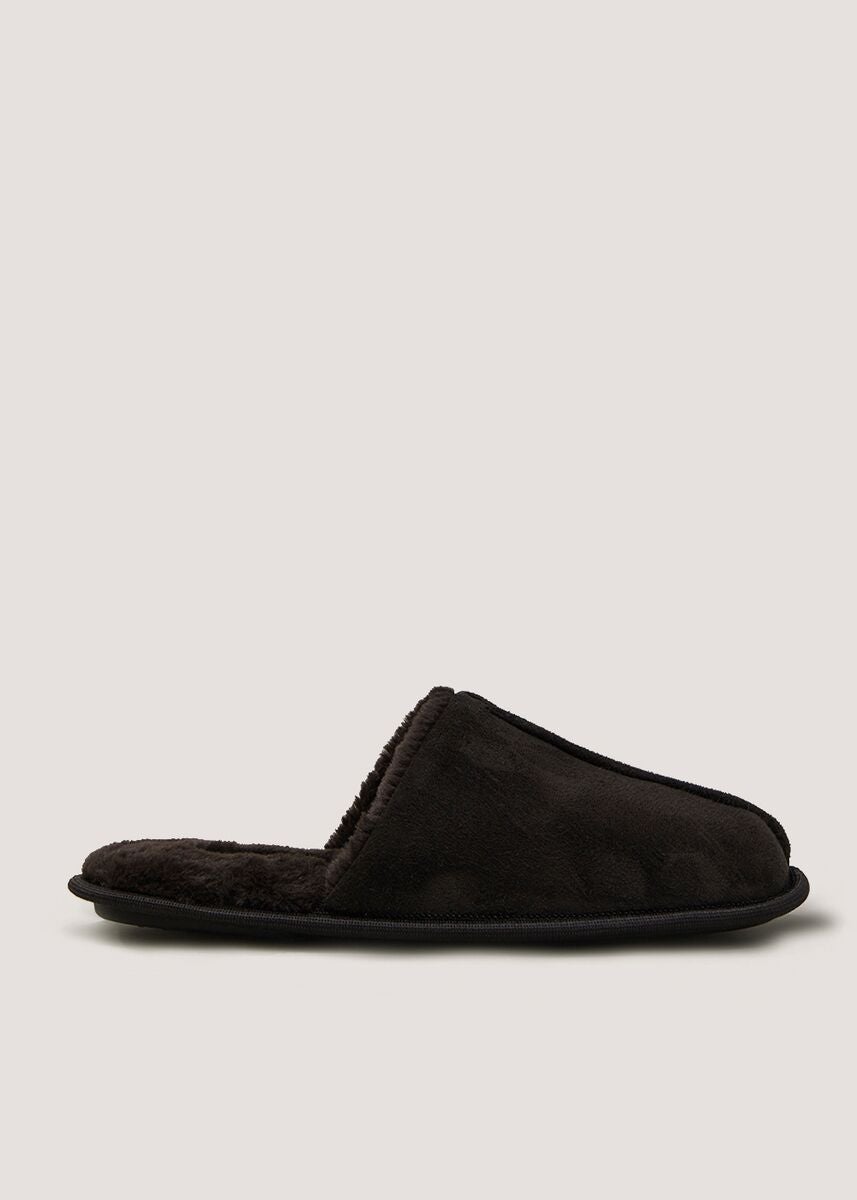
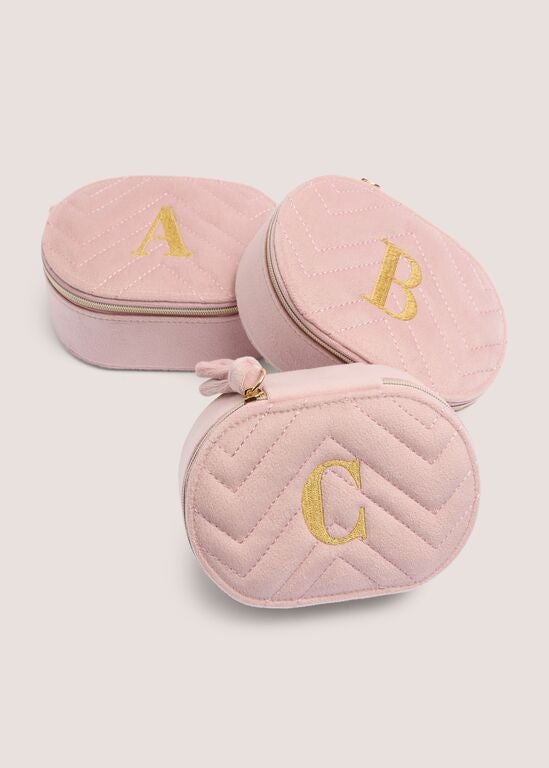
Whether you hang your stocking on the end of your bed, off your banister, or on your fireplace, they’re often filled with small, inexpensive gifts and the excitement of unwrapping them is priceless. From cosy pyjamas, socks, and slippers to homeware, candles, gadgets and toys, we’ve got stocking filler inspiration for every family member. Prefer to mix things up? Try fun surprises, great-value gifts under £5 or a gift card for a thoughtful touch that doesn’t take up space.
Disney Kids Blue Stitch Borg Snuggle Hoodie (3-13yrs)
£16.00 - £20.00£8.00 - £10.00Save up to: £10.00
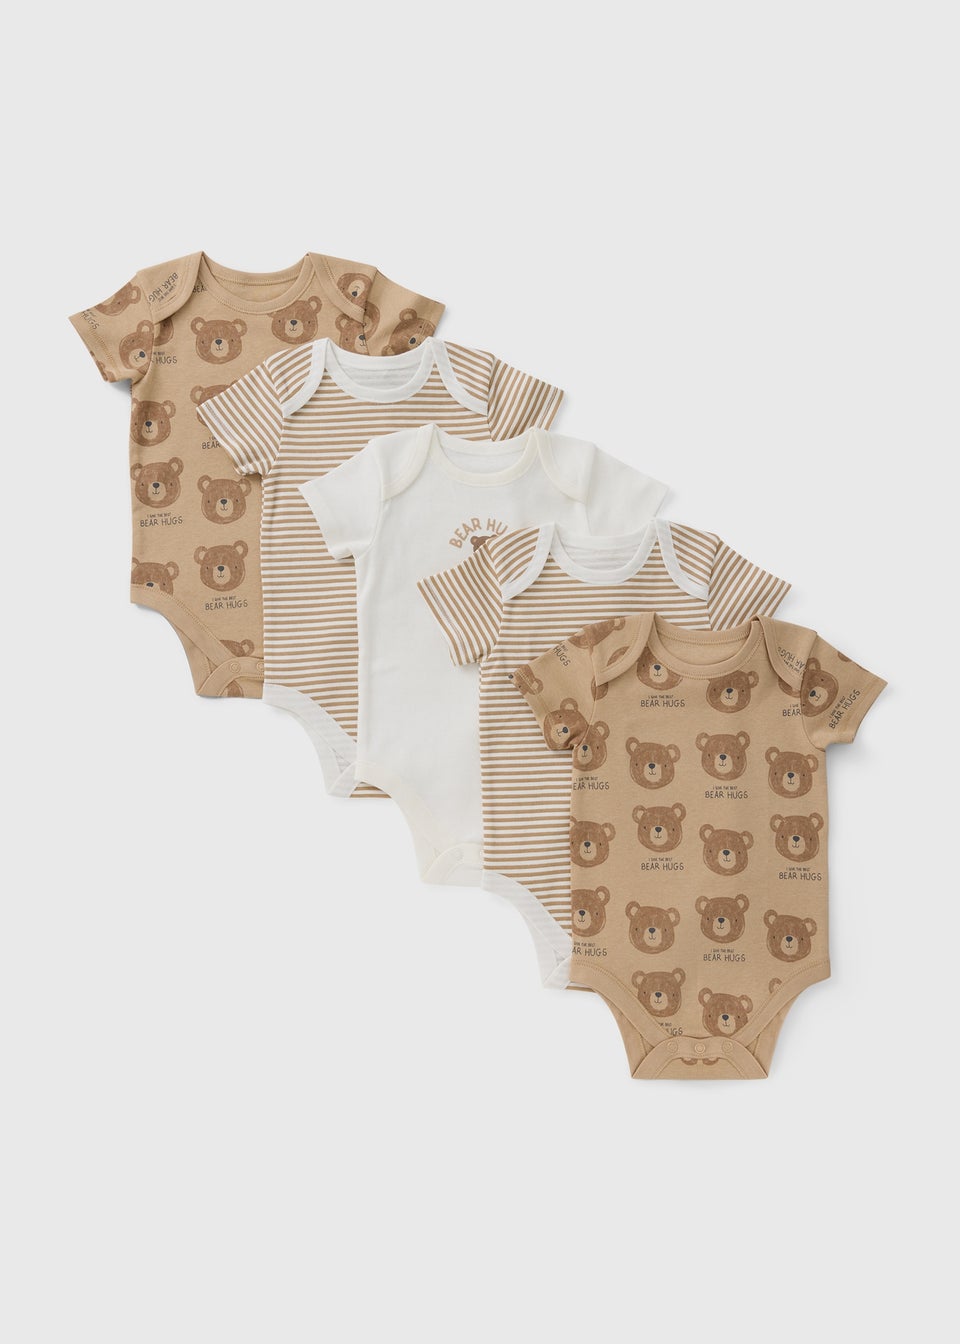
Stocking Filler Ideas for Little Ones
Stocking Filler Ideas for Adults
Gifts By Budget
We know the happiest season can also be the hardest. With busy schedules, last-minute shopping and rising costs, it all adds up fast. But don’t worry, we’ve got you covered with budget friendly stocking filler ideas under £5, £10, £15 and £20. Whether it’s for little ones or someone special, you’ll find plenty of affordable gifts to make every stocking feel priceless.


